1. Start with a new document. Choose your preferred dimension. Be sure that the dimensions are equal to the image that you’re going to use.
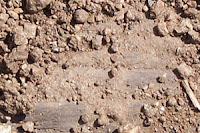
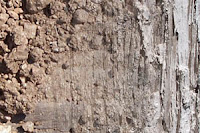
2. Insert the first image on Layer 1. Below is the first image that I use in this tutorial.
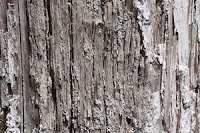
3. Add another Layer where you can put the second image. Then paste the second image. See the screen shots below: the first one is a shortcut to create a new layer and the second one is the second that I used.

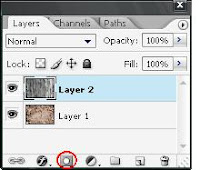
4. After placing the two images at there own separate layers, we will now start the photo masking. By doing these, we should add layer mask to Layer 2. The screen shot below shows the shortcut on how to add layer mask. You have to click on it.
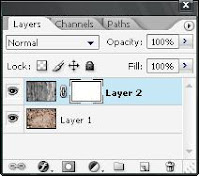
5. A new layer mask will be added to Layer 2.
6. We can now create a photo mask design from the two images. An example that I have created are some simple rectangles. As we paint with black color using the brush tool we erase the mask image in Layer 2, while painting with white it returns to its original mask image. You can try any design you and be creative.
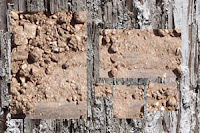
Note: The black areas represent the areas that we don't want to show. The screen shot below is the result of step 6. This explains that the image thumbnail of Layer 2 is placed on the left while the mask thumbnail is on the right.

7. Using the gradient tool is another option to create another design. With this gradient tool, you only have to select the colors black and white.
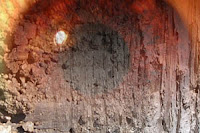
8. You may add one or more layers to be more creative. In here I added an image of an EYE and placed its corresponding mask.
These are the simple steps on how to mask and blend different type of images. If you want to be an expert you must practice more often and visit this site for more tutorials on masking and blending of images in Photoshop.
Masking and blending of images in Photoshop
Masking and blending of images in Photoshop


0 comments:
Post a Comment