In this tutorial I am going to demonstrate on how to create a rainbow in photoshop using some of its basic tools. These basic tools are the rectangular marquee, gradient fill and polar coordinates filter. It may look difficult to create but actually it is fun and simple. Just follow the steps below and surely you’ll be able to create a rainbow in photoshop in just a minute.
1. Start with a new document. Be sure that the dimensions are square. Make the size a few pixels larger than the width you want for the finished rainbow. Here, I use 400x400 pixels.
2. Make a new layer.
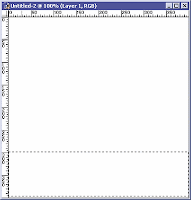
3. Make a rectangular selection with the use of the rectangular marquee for about twice as tall as you want your rainbow width to be. Make this selection just a few pixels away from the bottom edge of the document, but not touching the bottom edge (see image below).
2. Make a new layer.
3. Make a rectangular selection with the use of the rectangular marquee for about twice as tall as you want your rainbow width to be. Make this selection just a few pixels away from the bottom edge of the document, but not touching the bottom edge (see image below).

4. Select the gradient tool, and choose the Spectrum gradient.
5. Hold the Shift key down, click and drag from the bottom edge of the selection marquee to the top edge.
5. Hold the Shift key down, click and drag from the bottom edge of the selection marquee to the top edge.

6. Press Ctrl+D to Deselect the selection
7. Go to Filter > Distort > Polar Coordinates. Make sure "Rectangular to Polar" is selected. Click the - (minus) button in the filter dialog if you want to preview the effect.
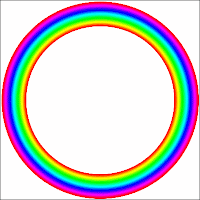
8. Click OK and your document should look like the example here.
7. Go to Filter > Distort > Polar Coordinates. Make sure "Rectangular to Polar" is selected. Click the - (minus) button in the filter dialog if you want to preview the effect.
8. Click OK and your document should look like the example here.

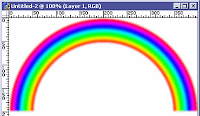
9. Optional: Add a slight Gaussian blur to the rainbow to soften the edges. By doing this Go to Filter > Blur > Gaussian Blur and Click OK. 10. Select the bottom half of the rainbow and delete.

11. Press Ctrl+D to Deselect the selection
You have now created a rainbow in its own layer which you can copy to another document or save for future use.
Create a Rainbow in Photoshop
0 comments:
Post a Comment